Terminology Tuesday (Tricks of the Trade) – How to Paint a Bathtub
(Note: I think it’s important to know the terminology and words used when learning any new business including mobile home investing. I came up with ‘Terminology Tuesday’ as a way to go over the terminology used in the mobile home business. It’s important to know the terminology when talking to people in the business so you’re all on the same page).
**** Tricks of the Trade is a new series I have started that will be included with “Terminology Tuesday” posts. The goal of this series is to share with you the “tricks of the trade” I have learned in the mobile home business.
If you’re a regular reader of the site and subscriber to my newsletter, you’ll know that I’ve been fixing up a lot of mobile homes lately. Unfortunately, once you get to a certain amount you’ll eventually take homes back. It’s just the nature of the game.
(Note: If you’d like to learn about my mobile home investing business strategy, you may want to read more here. Thanks for reading!)
The upside is that I’ve learned a lot about working and dealing with contractors. And I’ve found there are things I can do to save on costs.
One of them is making a bathtub look better. Instead of taking out an old bathtub and replacing it with a new one, I decided to paint one. Here’s what happened.
How to Paint a Bathtub
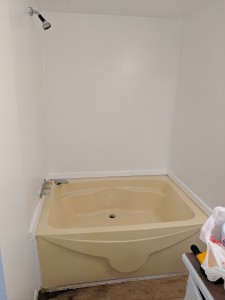
If you’ve been in a mobile home before, you’ve probably seen the garden tubs in the master bathroom. A lot of times, the ones I’ve bought as a mobile home investor are yellow and outdated…not the most modern. This is what I had to deal with:
Clean the Bathtub
When it comes to painting anything (even a bathtub!), the most important thing is prep work. Though it can be time consuming, the effort you put into preparing the item to be painted can make a difference with your end result.
So the first step before painting a bathtub is to clean it. Entirely.
Here I used a combination of TSP, bleach, and water to clean the bathtub as well as the walls and fixtures.
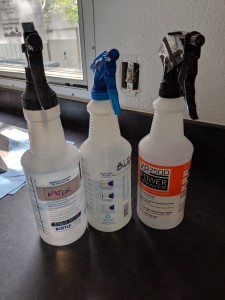
(Note: Always follow directions regarding cleaning and prep work on the label of the tub paint kit you’re using. In this case, it gave me step-by-step directions on how to prep the tub.)
Here are pics of the tub and fixtures after cleaning:
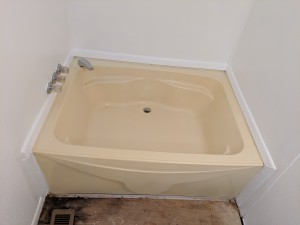
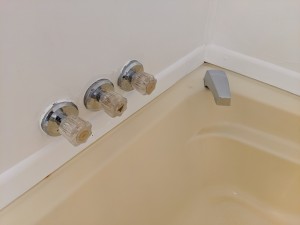
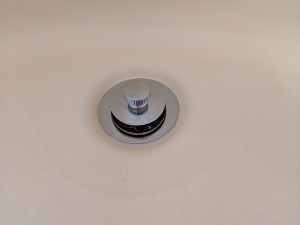
(Note: I spent a lot of time on cleaning. It’s pretty important before doing any type of painting. If not cleaned properly, skipping this step can mess up the entire job!)
Tape the Tub and Protect the Walls and Cabinets
Next, I used some painter’s tape to tape the tub. Also, I protected the walls with newspaper and laid some plastic over the cabinets. Here are pics:
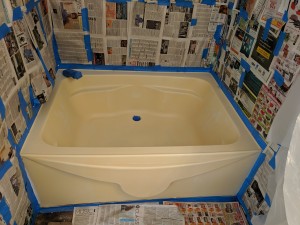
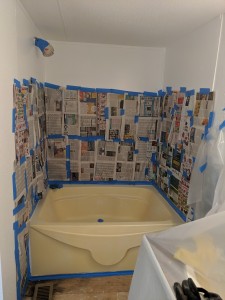
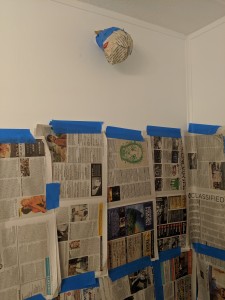
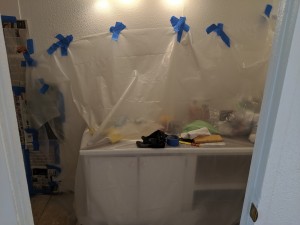
(Note: Before taping, be sure you turn off the main water completely. You don’t want the faucet or shower head dripping accidentally!)
Prime the Tub
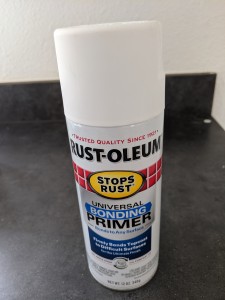
Since the tub is yellow (and I’m painting it white!), it’s a good idea to prime it beforehand. Here’s what I used to prime:
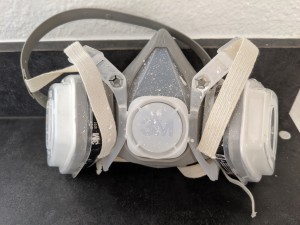
And remember when doing any type of painting, you want to keep your safety in mind. Protect your eyes and wear your mask for breathing protection. Here’s mine:
Here are the results after priming the tub:
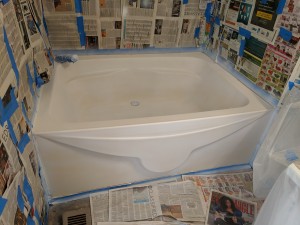
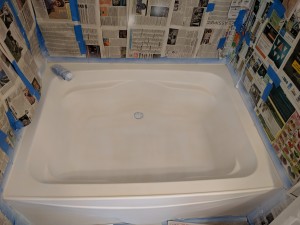
Sand the Tub and Prime Again
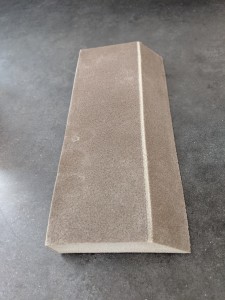
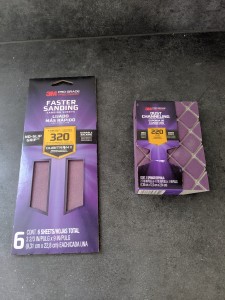
After the tub has been primed, next I sanded the tub. Here’s the sanding sponge I used:
After sanding, I primed the tub again. And then sanded. I did this a few more times. Here are the results:
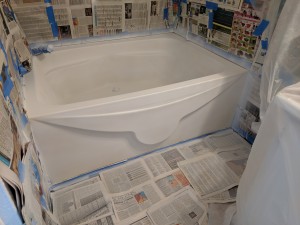
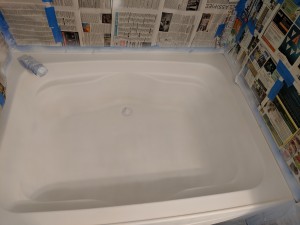
(Note: When spray painting, you want to do light layers. Let it dry and sand as smooth as you can. Though time consuming, it will make a difference!)
Vacuum the Tub
In between coats, I vacuumed the tub making sure to remove all particles from it. I used a good microfiber cloth as well as a shop vac. Here’s a pic:
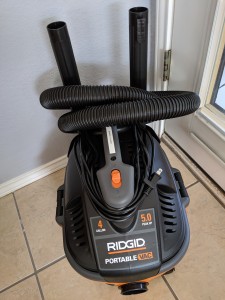
(Note: I have the same shop vac for my coffee obsession!)
Spray the Tub
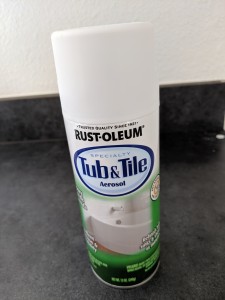
After I primed and sanded the tub, I was ready to paint it. Here’s what I used:
(Note: I chose to spray paint the tub versus rolling it. It’s just a matter of preference. Though, there are tub paint kits available which is another option.)
Sand the Tub and Paint Again
After spray painting, I sanded the tub again. And then I added another coat. I did this a few more times.
Here I used a finer sanding sponge which was less rough on the paint than when I primed. Here’s a pic:
(Note: I bought sandpaper to use on the flat areas. Though, I found the sanding sponge more useful overall.)
Remove All Loose Paint Particles
After sanding and painting, I removed all loose particles again using my shop vac as well as a soft brush. Here’s a pic:
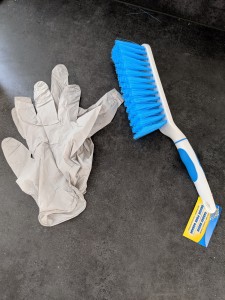
(Note: One thing I forgot to mention. When painting, I usually use vinyl gloves. I prefer them since they are disposable.)
Touching Up the Tub
Though I watched a lot of videos online and read up about spray painting, I did have a few drips. So I decided to use a foam brush to smooth these areas (which I saw from a video online).
Though, it didn’t exactly work out. Here are the results:
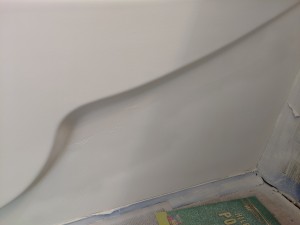
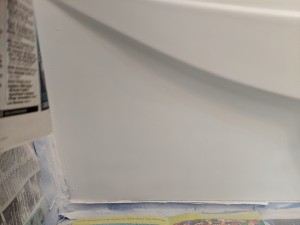
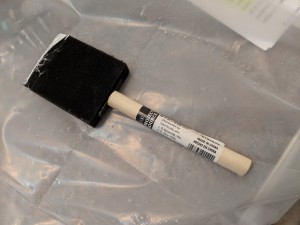
Here’s the foam brush I used:
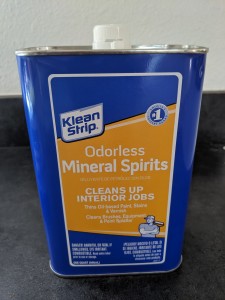
The directions also told me to wipe up any drips using mineral spirits. Here’s what I used:
When it comes to painting, what I’ve learned is to just go slow and do small areas. Yes, I had some drips. But I admit, I was painting faster than I should have.
By taking my time during the painting process, I’ll have less to do especially when it comes to touching up.
Conclusion and End Results
After the whole process and many days of painting (as well as sanding!), I finally finished the job. Here are the results:
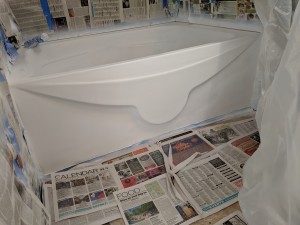
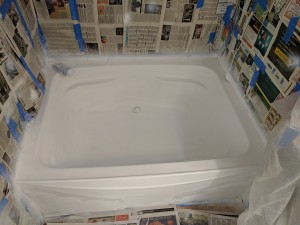
Overall, I was pleased with the job. Sure, it’s not perfect and there are some areas that could have been done better. Though, it’s definitely an improvement from what it looked like before!
The hardest areas to paint and sand was where the tub was not entirely flat. It took awhile to work these areas (as well as sand them!). Though, I did the best job that I could.
Since this was my first attempt at painting a tub (after all this time investing), I figured it wouldn’t exactly be the same as buying a new one. But definitely more cost effective.
(Note: Usually when prospective residents tour the homes I have on the market, they rarely spend any time in the bathrooms. Usually, they just peek inside. The kitchens and living rooms are where they spend the majority of their time looking!)
As a final touch, I’m going to go ahead and put a nice bath mat inside the tub. This way it’ll look prettier!
What do you think? Let me know if you’ve ever done this or plan to do it in the future. I’d love to hear your thoughts!
I hope this “Terminology Tuesday” post has been helpful and has given you some useful information – it definitely has for me.
Happy investing!
