Terminology Tuesday (Tricks of the Trade) – Window Replacement
(Note: I think it’s important to know the terminology and words used when learning any new business including mobile home investing. I came up with ‘Terminology Tuesday’ as a way to go over the terminology used in the mobile home business. It’s important to know the terminology when talking to people in the business so you’re all on the same page).
**** Tricks of the Trade is a new series I have started that will be included with“Terminology Tuesday” posts. The goal of this series is to share with you the “tricks of the trade” I have learned in the mobile home business.
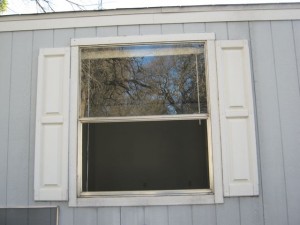
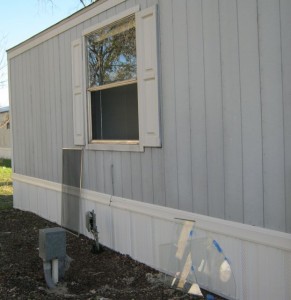
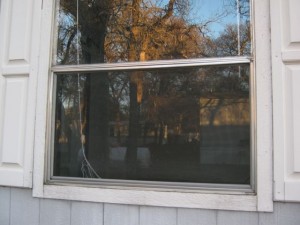
Recently, I had to replace a window on one of my homes. Now, the entire window didn’t need to be replaced – only the lower half. Here’s a pic:
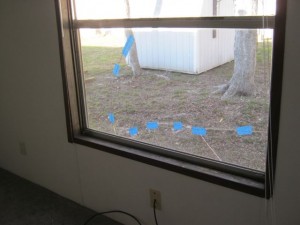
Due to the change in weather and temperature, the window had begun to crack. And, it got to the point where it needed to be replaced. As a temporary measure, I taped it up until I found a suitable solution.
(Note: Earlier in my career as I was building my team, I had actually called a few window replacement companies to find out the process and cost of replacing a window. Now, many of these companies advised me that should a window crack – the entire window would need to be replaced (not just a single area) which would cost anywhere between $300-$800 per window depending on the size and dimensions. Quite honestly, I thought this was a very large amount for a window replacement job especially if only one small area of the window needed to be replaced).
In any case, I did some scouting around and talked to the park manager of one of my favorite parks and asked what their process was to replace windows on their park owned homes. This particular park manager told me they used to pay for the entire cost of a window replacement (which cost them hundreds of dollars) in the past even if only one small area of the window needed to be replaced.
However, their maintenance guy had actually found a small “mom and pop” company in the area who specialized in providing glass and window replacement parts (including the vinyl frames common in mobile homes needed to reinforce the windows in place). The park manager went on to tell me their maintenance guy now did all of their window replacement jobs by buying the materials from this company which usually cost anywhere between $20-$50 per window.
After our conversation, the park manager gave me the phone number and address of the company and I went there for a visit. To my surprise, they knew exactly what I was coming in for as they did a lot of business with the park.
They told me all I would need to do was to measure the size of the window so they know the dimensions of how much glass to cut. Also, I was informed that I would need to bring in a piece of the vinyl frame (which holds the window in place) so they would know if the ends where a “T” section or an “L” section. They told me most mobile homes are usually in a “T” section but it would be better to bring the original vinyl frame just to make sure. So, I did. Here’s a pic:
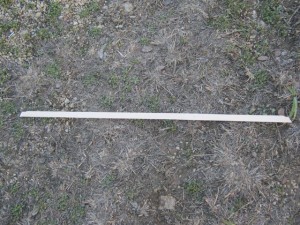
(Note: It’s important to save the old pieces of vinyl framing around the window as it will help with measurements and cutting with the new vinyl frame for the job).
Once I had the glass and the vinyl frame needed for the window replacement job, I was ready. Here’s a step by step guide of exactly what I did to replace the window:
First, you’re going to need a couple tools and materials for the job.
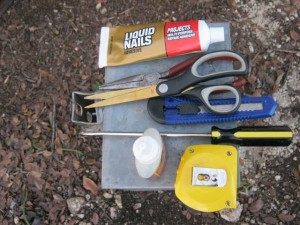
Using a screwdriver, try to pop out the screen of the window. Once you take the screen out, you’ll need to remove the vinyl frame around the window which holds and reinforces the window in place. I used a screwdriver for this as well.
(Note: At this point, it’s best to use gloves especially if the window is cracking quite a bit just in case some pieces fall out while you’re trying to pop the vinyl frame out).
Once you remove the vinyl frame around the window, carefully remove the glass as best as you can. Be careful as there may be bits and pieces of glass that come off as you work.
After the glass has been removed, get a wire brush and brush the edges of the windowsill to make sure the edges are free of glass pieces and dirt.
Here’s a pic after removing the screen and the glass from the window:
Once the screen, the vinyl frame around the window, and the glass has been removed – you’re ready to replace the window with the new glass and vinyl frame.
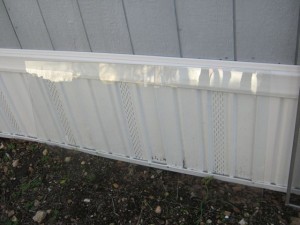
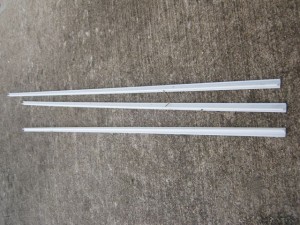
Before you proceed with the window replacement job, you’ll need to cut each piece of vinyl frame to make sure it can fit around the window. It’s best to compare each piece of the old vinyl frame with the new vinyl frame to help you with cutting. In addition, you’ll need to cut each new vinyl frame piece similarly to the cut each old vinyl frame piece has (as it was in place). Usually, it will be slanted a bit. Here’s a pic of one piece of vinyl frame to show you the cut of the edges:
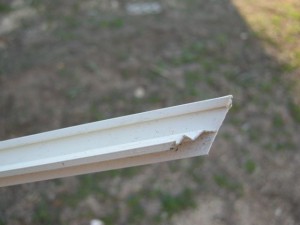
Once you have all the new vinyl frame edges cut, then you’re ready to proceed. Take a glass sealant (it’s best) and place it around all of the metal edges of the window. For my purposes, I used this (which worked as well):
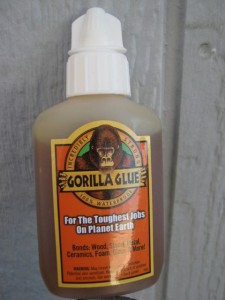
Here’s a pic of where I placed the glue around the edges:
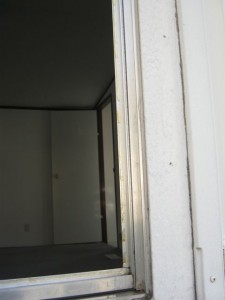
After the sealant or glue has been spread around the entire metal frame of the window, then take the new glass and carefully put it in place.
(Note: It’s best to use two people at this point for accuracy).
Once the new glass has been put into the metal frame, it will stick (via the glass sealant or glue) and make sure there are no open edges.
Next, take a piece of the vinyl frame and put it in place which will reinforce the window.
Here you’ll see a piece of the new vinyl frame on the left:
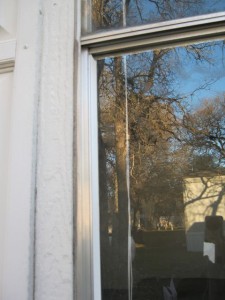
Take the remaining pieces of the vinyl frame and place them all the way around the window. When measured and cut correctly, they should all fit in place.
(Note: For this part, it’s best for one person to hold the glass in place so it will not shift while another person puts the vinyl frame pieces around the window).
Once all of the pieces of the vinyl frame have been placed around the window, then take the screen and put it back into place.
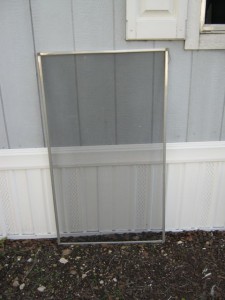
And, you’re done! Here’s a pic:
I hope this “Terminology Tuesday” post has been helpful and has given you some useful information – it definitely has for me.
Happy investing!
p.s. Feel free to leave comments on any post either here and/or my Facebook Page. Comments are always welcome, thanks for reading!


One Response
Gorilla Glue was an interesting idea for the windows because of its expansion after it’s applied, but I wonder if it would really be waterproof against a driving rain. Maybe? Sounds like a good idea to me.
Comments are closed.